Friday, June 3, 2011
Cottage Apron
Wednesday, June 1, 2011
Doggy Leash
I used some left over fabric I had laying around in my stash. I wanted to make a cute colorful leash since our dog is a girl but was stuck with manly neutrals since Mr. Smith does the dog walking in our house. Oh I go along for the walk sometimes but I am not the walker because the walker is responsible for picking up after their dog and I don't pick up what dogs leave behind. It's not because I am prissy or anything, I just have a gag reflex that doesn't stop which means I too would leave something behind if you get what I mean.
To make the leash, I cut out strips of fabric that were 2 1/2 inches wide and various lengths. I then sewed all the pieces together until I had one long piece of fabric that was 2 1/2 inches by about 7 feet. I then pressed all the seams open and ironed on some thin interfacing, mostly to give the leash some added strength. I then folded the long strip of fabric in half and pressed.
For the handle, I just folded a loop about 7 inches long and secured it using several rows of stitching. I did the same to attach the latch to the other end of the leash. Only time will tell if this leash will last as long as our previous leash but even if it doesn't, I can just whip up another leash in a jiffy, only this time I plan to use only one long strip of fabric instead of a bunch of pieces, I am telling you turning that tube right side out was an incredible pain and I am going to make it girly, I don't care if Mr. Smith doesn't want a hot pink. ruffly leash, he is getting one.
Friday, May 27, 2011
Party with Flamingos
Sunday, May 22, 2011
Subway Art My Way
![]() |
| Isn't that back ground paper cool, I just feel in love with it. |
Looking at the subway art that is all over blog land got me thinking how did this art form that started out as graffiti make it's way into home decor? So I turned to google to answer my questions, I mean isn't that how everyone gets their questions answered in this day and age? I found this little essay that gave me some of the history behind Subway art. Long story short, subway art started as a way for graffiti artists to communicate, it then grew into a type of competition among artists to see who could tag the most subway cars. Soon graffiti covered so many cars that the artists began to search for ways to make their tags standout so they started using different styles of script and adding different doodles to make their tags unique. Ah ha, that makes sense, I can see how "subway art" has made its way from the subway to our homes. Enough with the history lesson, go get your "em-agination" going and make some of your own subway art, it's really fun.
Thursday, May 19, 2011
Applique Monkey Quilt
Wednesday, May 18, 2011
Sailor Skirt for Me
I then sewed all the pieces together and created the waist just like in the tutorial. The skirt turned out cute however my fear came true, I put the effort into making something for myself and it didn't fit. BOO! Which is why you are not seeing the skirt on me. I however know where I messed up and will give it another try, I just may have enough left for a take 2. Would you like to know where I messed up? Well, when I traced my skirt as a pattern, I added extra for the seam allowance for the side seam, I however didn't take into account the need to add in seam allowances for the seams that run up the middle of the front and back of the skirt.
I admit, not everything I make works or fits as the case may be. I however learned from this little mistake and will try again, this skirt is so cute, not to. What I need is a mannequin that is made to fit my body, I have seen tutorials on how to make them, I may just have to do that. I am determined to figure out how to sew clothes for myself. Have you had any failures when trying to sew something for yourself? Do you have any tips for me when trying to sew for yourself? I'd love to hear about them.
Sunday, May 15, 2011
Jalapeno Salsa
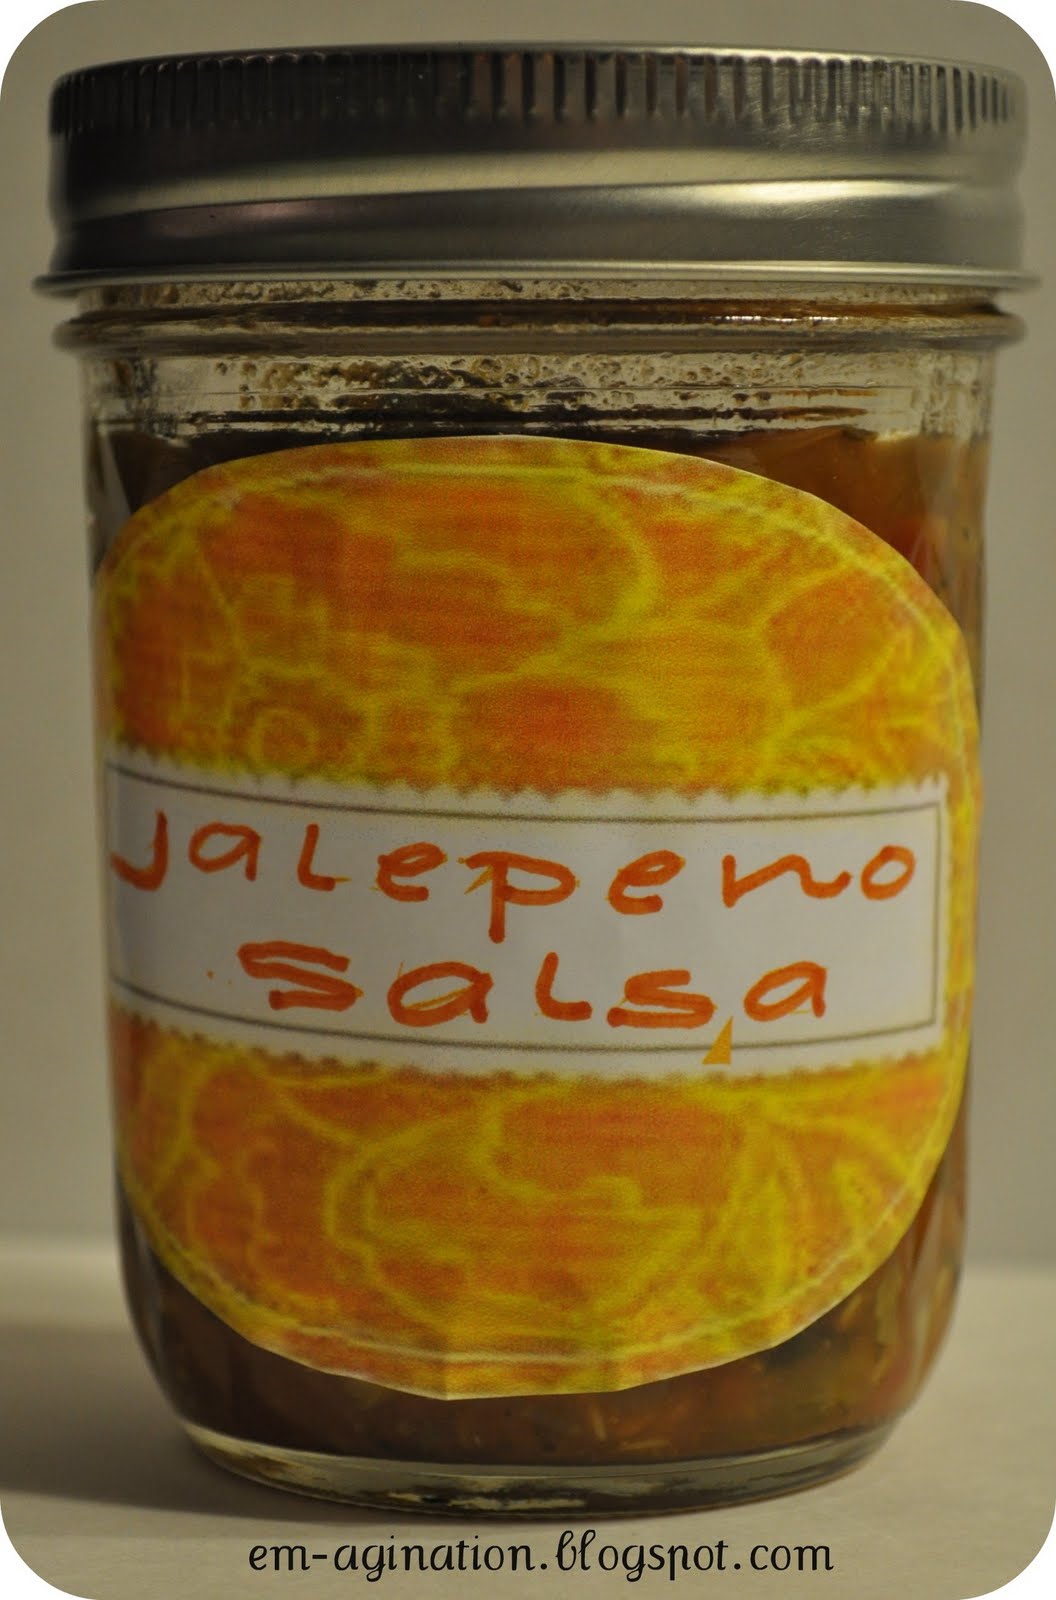
Over the weekend Mr. Smith and I worked on a little project together. We made his favorite salsa, Jalapeno Salsa found in the Ball Complete Book of Canning, also found on Food.com. It is a really spicy salsa made with a ton of jalapenos but has a really great flavor. We always double the recipe so that we can have lots on hand, it is that good.
Ingredients:
Directions:
- Combine all ingredients in large sauce pot.
- Bring mixture to a boil.
- Reduce heat.
- Simmer for 10 minutes.
- Ladle hot salsa into hot, sterilized jars, leaving 1/4-inch head space.
- Adjust 2-piece caps.
- Process for 15 minutes in boiling-water canner
I had fun prettying up the jars a little. I started out by using the canning templates found at Merriment Design, they are so pretty. I however wanted to put them on the front of my jars rather than the top of the lid so I copied and pasted them into Paint and then stretched them into an oval shape. Very pretty and ready for some gift giving, if I can pry them from Mr. Smith's hands. Maybe we should have tripled the recipe instead of doubling it.
![]() | |||||
| Yes I know I spelled Jalapeno wrong, I vote we change the spelling because I would have sworn this was right. |
Subscribe to:
Posts (Atom)