Showing posts with label refashion. Show all posts

Sunday, May 8, 2011

$1.80 Polka Dot Dress Refashion


I found this woman's shirt on clearance at Kohl's last summer for $1.80, yes, you read that right, $1.80. Even though there was no way I could ever wear this shirt, I am just to old and not skinny enough, I knew I could refashion it into a dress for my daughter and who can pass up a dress for $1.80, not me that is for sure.


This was a fairly straight forward refashion and could really be done with any t-shirt you have, First off, this shirt had a shelf bra sewn in which my daughter didn't need so I cut that out. Then I marked along the side seams where I wanted to take in the dress a little. After cutting along the line, I pinned the sides together and sewed up the seams.

Then I cut along off the scooped neck and straps creating a straight edge at the top. Fold over a 1/4 inch and sewn creating a finished edge.

After sewing the finished edge, I noticed that the fabric had stretched slightly and just didn't look right so I decided to shir the top edge of the dress a little bit to match the existing shirring below. You could put in as much shirring as you want, I only did 2 rows.


For the sleeves, I had wanted to reuse the spaghetti straps that were originally on the dress however I am not  a huge fan of little girls in spaghetti straps, it just looks to grown up to me and when pinned in place it just didn't grab me so I decided to make a little ruffle sleeve using the fabric from shelf bra I had cut out of the top. The ruffle sleeve was cut out in a half circle, making sure to cut it larger than I needed because the shirring along the sleeve will bunch up making it a smaller. I shirred 2 rows along the flat edge of the sleeve and then pinned these sleeves to the top of the dress with the curved edges facing out.


At this point the construction of the dress was done, you could leave it this way and the dress would be cute. I however couldn't leave well enough alone and decided I needed to spruce it up. Out came my favorite crafting tool, the Silhouette craft cutter and some heat set vinyl. You could really do anything to spruce it up, I thought flowers along the bottom would be cute, but in the end polka dots won out, I just love them.

I wasn't able to get my daughter to model it for me, she was asleep but I bet a million dollars she asks if she can wear it to school tomorrow. Fine by me sweetheart, fine by me.

Please feel free to link to my posts but please do not repost pictures of my children, thank you.

Sunday, May 1, 2011

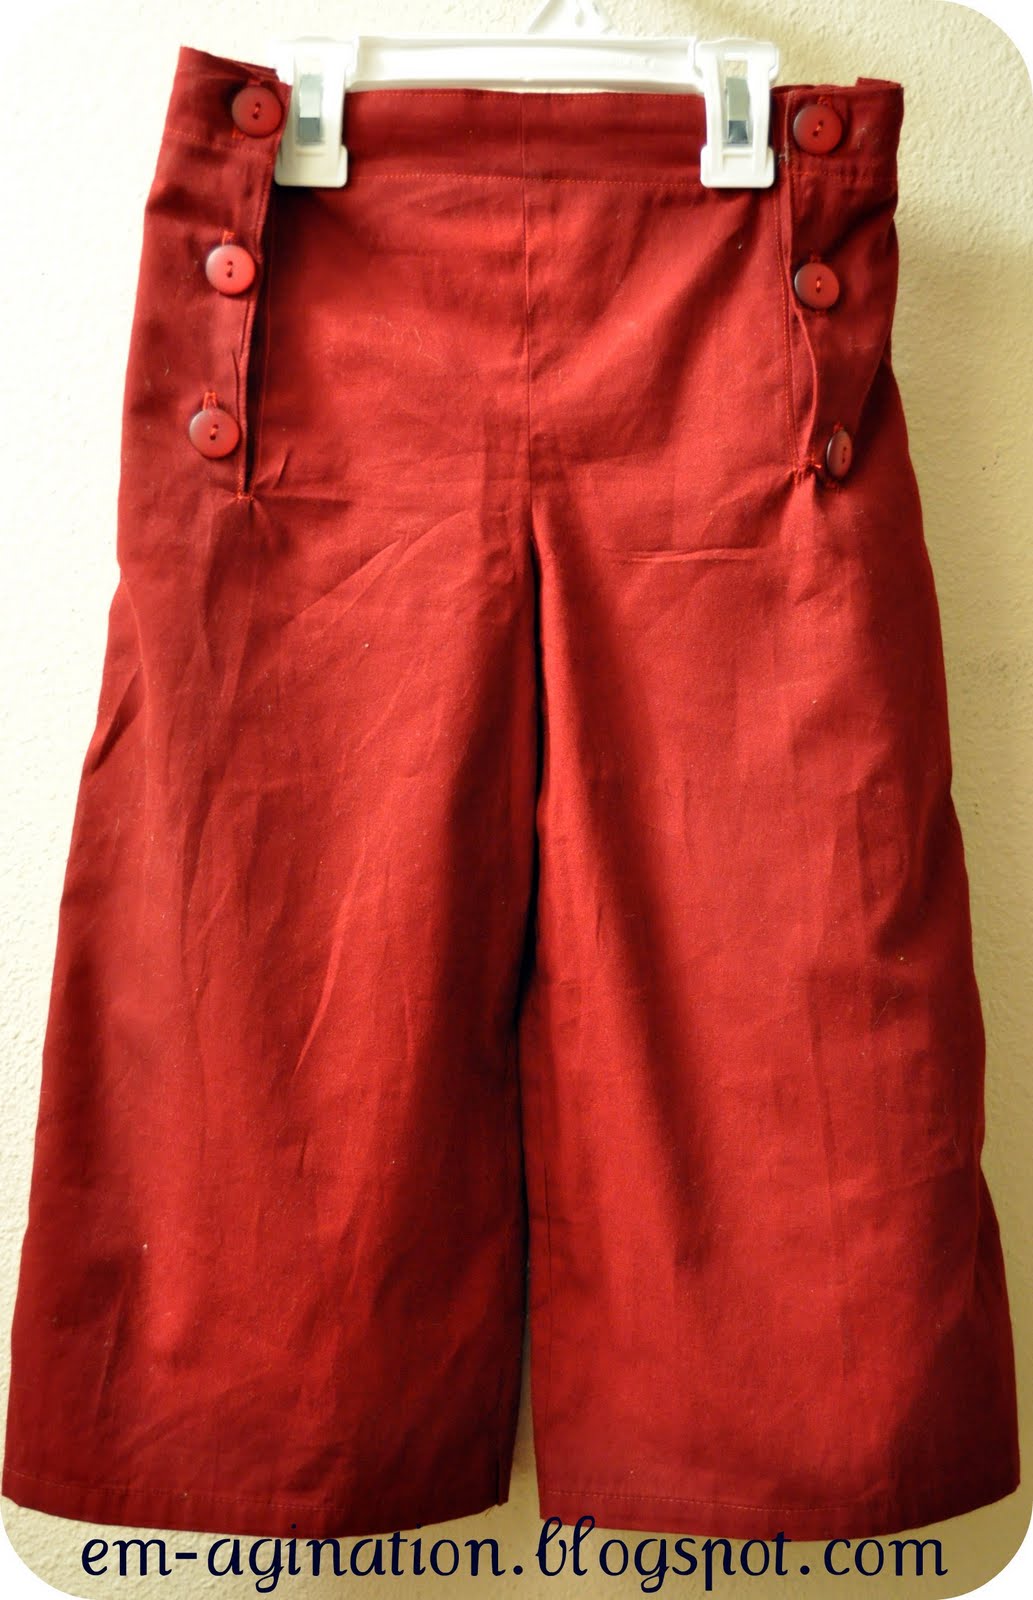
Sailor Pants with a Cherry on Top


Spring has finally arrived here in Oregon, we hit 70 degrees today and I am so happy to feel the warmth from the sun again. One thing that the warm weather made perfectly clear is that my daughter has grown a lot since last summer and is in dire need of spring/summer clothes. Being the frugal mama that I am, I decided to make her a few things using up some of my fabric stash.
Note to self: remember to iron before taking pictures to share with the world
First up was a pair of sailor pants that I absolutely love!  I used a wonderful tutorial that I found over at Me Sew Crazy to make these sailor pants. The tutorial is really great and very easy to follow, I'm thinking I may use this method to make a pair for myself. Don't tell anyone but I used a sheet that I picked up dirt cheap at Target a few months ago to make these pants. Actually do tell someone, sheets are a great frugal tip when it comes to sewing, I use them all the time. I just make sure to buy 400 thread count or higher so that the clothes I make with them aren't scratchy. Target quite often has them on sale for 4 or 5 dollars for a flat twin sheet and you get a lot of fabric for that price. With this sheet alone, I have made myself a bathing suit cover-up, these sailor pants and I have enough left to make a dress for my daughter, I will post that when I get it done.

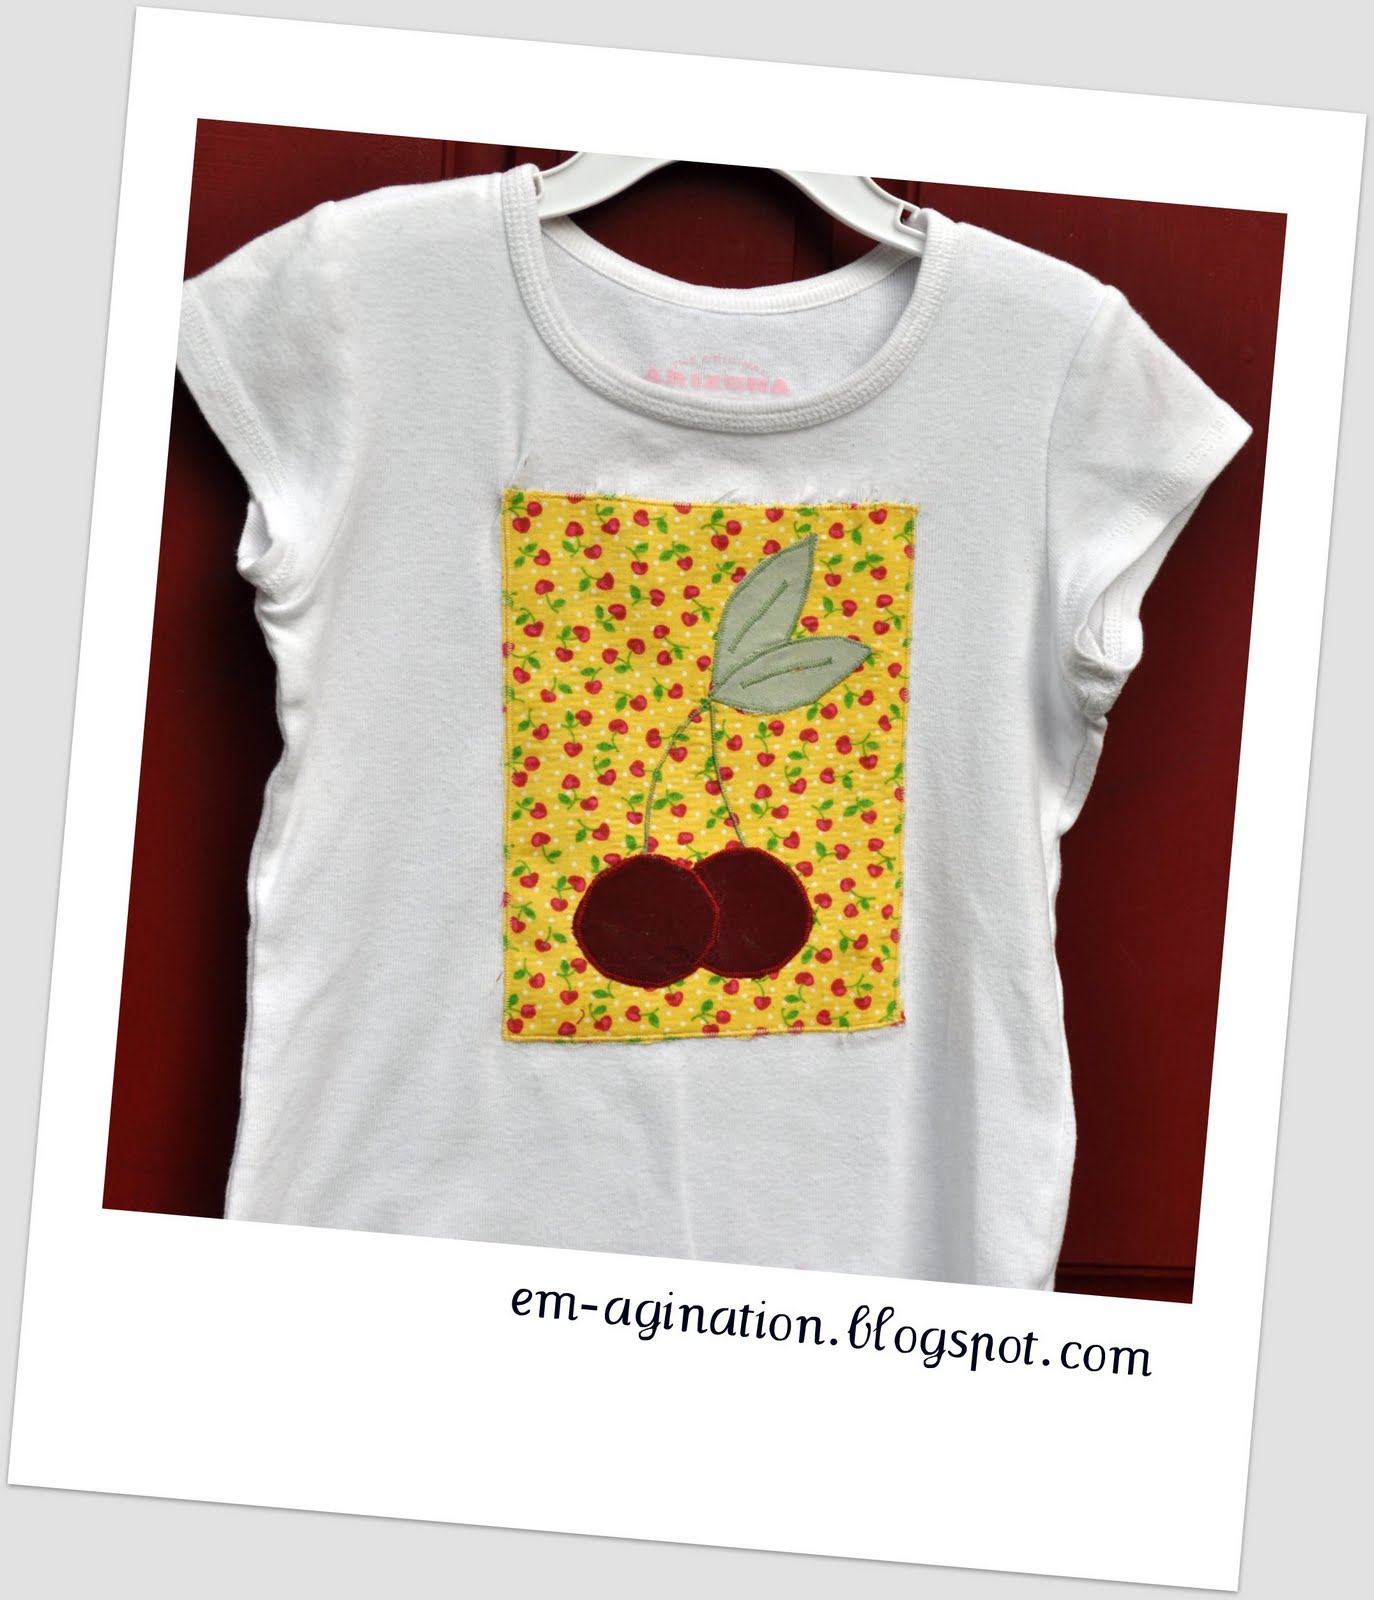
For the shirt, I used an existing plain white t-shirt in my daughter's closet that had a stain on the front. I cut out a rectangle of cute cherry fabric that I had left over from a skirt I made her a few years ago and appliqued on a couple of large cherries, that I free hand cut out of scraps. I then took the entire rectangle and appliqued it right over the stains on the t-shirt, good as new and pretty darn cute. The only complaint I have is, I wish I had remembered to back the shirt with a little bit of stabilizer because as I was sewing the applique onto the t-shirt, the fabric of the t-shirt pulled quite a bit and caused it to pucker quite a bit. Oh well lesson learned, at least I didn't learn this lesson on a new shirt.


Sunday, March 6, 2011

Shirt to Shirt Refashion???

Refashion??? You be the judge, some may say no since this shirt refashion is very similar to the original it started out as, call it what you want, refashion or just repair doesn't matter because I love it and my daughter gets extended wear out of a very cute shirt.

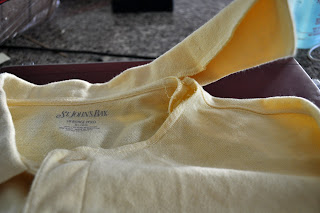
Original shirt
So here is the story, my daughter received this shirt when she was 4 1/2 as a gift and I immediately fell in the love with it, loved the fabric, loved the color, loved the style. I however was very sad after just a few wearings my daughter got a huge rip in the front of the the shirt. I decided that even though she couldn't wear it in it's current state, I would put it into my "to do" pile and refashion it into a skirt. Well my daughter is now almost 8 and the shirt still sits in that same pile. "Procrastinator," yeah, that is my, I admit it. This weekend I was going through said pile and decided I needed to either do something with it or throw it out. It was definitely to short to become a skirt but I thought, I may be able to let out the gathered bottom a little and add a coordinating fabric in place of the ripped  fitted portion of the top and make it into a new top all together. Here is a little walk through on how this Children's Place shirt became this refashioned shirt.

First off you need to tear apart the existing shirt. I separated the gathered bottom from the fitted top. This shirt had a zipper which I also removed and saved for use in another project yet to be determined.

Next I used an existing shirt that fits to make a pattern for the fitted top cutting two pieces for the front of the shirt. Sorry I forgot to take  a picture of this step.

I then cut a long rectangle that is 5 inches in height by 1 1/2 times the length of the front pieces. Fold over one of the long sides of the rectangle 1/2 inch and sew down. Then start shirring the back rectangle. If you haven't shirred something before, here is a great tutorial on shirring by Ruffles and Stuff. 

Then you need to attach the back shirred piece to one of the front pieces at the sides, making sure that the right sides of the fabric are together. Then press open the seams. Pressing seams is very important, it makes the difference between a professional looking garment and a wonky looking garment.

Now take your second fitted top piece and the top piece with the shirred back attached and put right sides together. Sew these two pieces together along the curved arms and the chest area as shown by the dotted line, I added those lines, they are not the sewn stitch, pretty cool huh? Yeah, I thought so too.

With the pieces attached, clip your corners and snip the curves before you flip it right side out. This will help to made the pieces lay flat and the edges to look very square.


 With the top flipped so that the right sides are facing out, iron the fitted top part and top stitch around the curved arms and across the chess, making sure to leave the sides open.

This is what you should have so far.


Next take the gathered bottom of your original top and turn it inside out. Then turn your fitted top and turn it inside out and put it inside of the gathered bottom, pin and sew around so that you attach the two pieces, making sure that you only sew through one layer of the fitted top.

Turn the garment right side out and press this seam down. Now turn  it inside out again and press the bottom edge not attached to the gathered bottom and the sides under a 1/4 inch and sew these pieces down, making sure to capture the gathered edge under the turned edge so that the inside looks nice and neat..

Next I cut the tie back pieces off of the original shirt and used these as straps for the new shirt. Sew in place and you are done. You could add button if you want, I still may.

Put the dress on and step back and enjoy your work, Here is my cutie enjoying her shirt again. Please feel free to link back to this post but please don't use my pictures without permission, especially those with my children in them. I know these steps may be hard to follow so if you have any questions, don't hesitate to ask.


Monday, February 28, 2011

Girls Dress Refashion

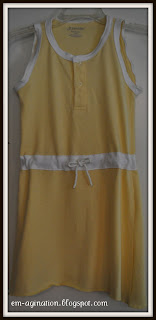
Spring is coming, Spring is coming, Spring is coming, never mind that we got snow and had well below freezing temperatures this week. I just know that it will be here before I know it so I am preparing for it now. I couldn't sleep the other night so I decided to do a little Internet window shopping and came across this little ditty which caught my eye, not only because it was cute but because I thought, I could make that. The inspiration dress is by Juicy Couture and while very cute at $88.00 it is definitely more than I am willing to spend on a girls dress. Time to use my "em-agination" and figure out how to make this myself.
I decided that this dress was a perfect candidate for a clothing refashion. "Clothing Refashion?" you ask, well let me explain. A clothing refashion is when you take and existing piece of clothing that is not longer wanted and turn it into a different item that is. In this case I took an X-large men's polo shirt and refashioned it into a girls dress.

Here is how I did it, not really a tutorial just an explanation of the process. First off, I began by removing the collar of the shirt using a seam ripper.
Second, I found an existing tank top that my daughter owned to use as a pattern for the top of the dress, because it didn't have the skirt, I had to free hand an a-line skirt on the bottom. I wish I had have done a more straight skirt rather than the a-line just because that would have recreated the inspiration dress a little better. For the pattern I used a paper grocery bag that I cut apart.
Once the pattern was drawn and cut out I folded my polo shirt in half and pinned my patten down and cut it out. I left the shoulder seams intact just because it was one less seam to sew.
At this point I sewed up the two side seams and added bias tape made from a ribbed knit around the neck and arm holes.

I then cut a 2 1/2 inch strip of white ribbed knit for the belt. I then ironed the edges over 1/4 inch and added 2 button holes for the tie. Then pin this around the waist of your dress and top stitch around the entire waist of your dress.
 Once the belt is top stitched into place I attached two 8 inch pieces of cording/rope to a length of elastic just smaller than my daughter's waist. I then fed the cording and elastic through one of the button holes in the belted middle of the dress using a safety pin attached to the cording to pull the entire length of elastic around the dress and out the other button hole.
Most of the time, I try to use and existing hem when refashioning clothing just because it makes for one less thing to do, unfortunately, this shirt was just a little to long to do that with so I had to cut off the existing hem and create a new one. for this hem, I used an overlock stitch to hem the dress, (similar to the look of  what a serger would produce) and left it at that. I however may go back and create a traditional hem to this dress because it still fills a little long on my daughter and my husband says it looks unfinished. We will see, depends on if my daughter will really wear it, right now, she is a little luke warm on the dress. Hopefully when we get warmer weather, she will warm to wearing it. I think it will also look very cute with an added white t-shirt underneath. Here are a few more pics of my daughter being a goof in her dress, please feel free to link back to this post but please don't use my photos without asking, especially one's with my children in them.
And a final comparison of the inspiration dress (on left) and my dress (on right), definately not perfect recreation but that is not what I was going for, I simply used the Juicy dress as a jumping off point, all in all, I am satisfied.